
Kubernetes + EKS + Docker + Node
- Create a website to convert our images to black and white
- Create 3 microservices : the website, the black and white image converter, the uploader to S3
- Use Docker-compose to orchestrate these microservices locally
- Create a Kubernetes cluster on EKS with eksctl
- Create 3 ECR registries and push the production docker images of our services
- Putting the application online with kubectl

Install, setup and explore the project
Get the code from this github repository :
# download the code
$ git clone \
    --depth 1 \
    https://github.com/jeromedecoster/aws-black-white-gallery-kubernetes-docker-node.git \
    /tmp/aws

# cd
$ cd /tmp/aws
To setup the project, run the following command :
# install eksctl + kubectl, create aws user + s3 bucket
$ make setup
This command will :
- Install eksctl if it is not already installed.
- Install kubectl if it is not already installed.
- Creates an AWS Power User for the project.
- Creates an S3 bucket.
- Creates an .env file from the .env.sample file. You can modify some variables if you wish.
Let’s test the image conversion service by starting the development version :
# convert service local development (on current machine, by calling npm script directly)
$ make convert-dev
This script performs the following :
$ DOTENV_CONFIG_PATH=../.env DEBUG=convert npx nodemon --require dotenv/config server.js
We can test the service with curl :
$ cd convert
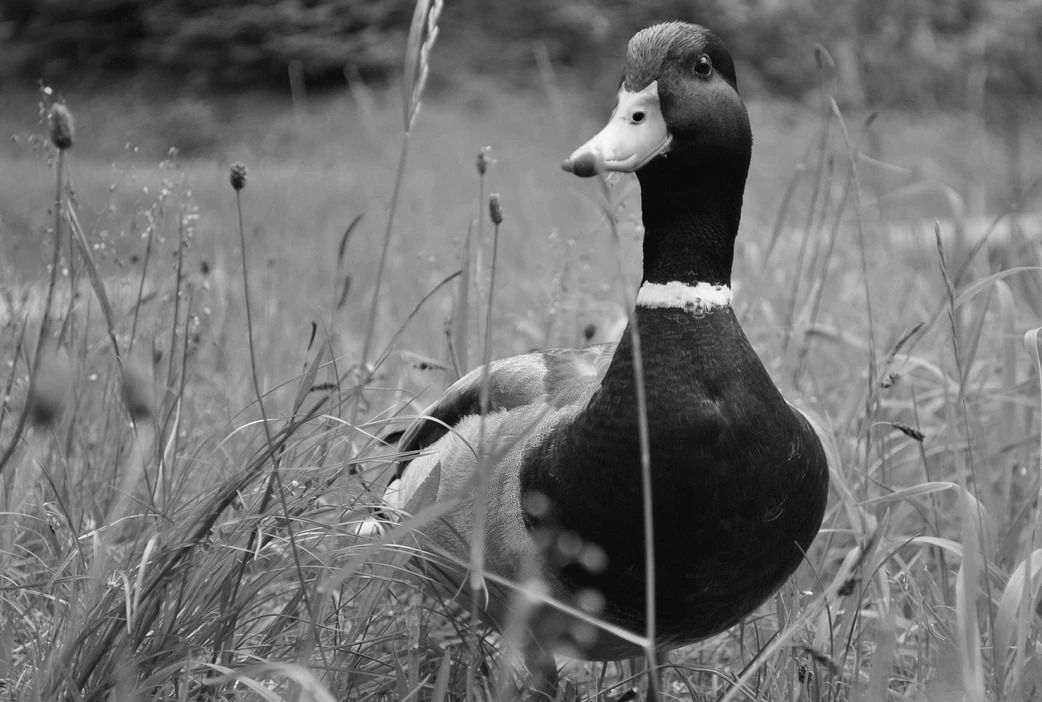
# convert the jpeg to greyscale
$ curl http://localhost:4000/greyscale \
--form "file=@test/duck.jpg" \
--silent \
--output /tmp/duck.jpg
It works :
We can stop the service with Ctrl + C.
The services have a series of tests of which here are some extracts :
const expect = require('chai').expect
const request = require('supertest')

const app = require('../app.js')

describe('app.js routes', function () {

    it('GET /', function (done) {
        request(app)
            .get('/')
            .expect(200)
            .end(function (err, res) {
                if (err) return done(err)
                expect(res.text).to.include('API')
                done()
            })
    })

    it('GET /healthcheck', function (done) {
        request(app)
            .get('/healthcheck')
            .expect(200)
            .expect('Content-Type', /json/)
            .end(function (err, res) {
                if (err) return done(err)
                const data = JSON.parse(res.text)
                expect(data.uptime).to.not.be.NaN
                expect(data.uptime).to.be.above(0)
                done()
            })
    })
})

describe('app.js POST /greyscale', function () {

    it('no file', function (done) {
        request(app)
            .post('/greyscale')
            .expect(400)
            .end(function (err, res) {
                if (err) return done(err)
                expect(res.text).to.match(/file is required/i)
                done()
            })
    })

  // ...
})
We run the tests with this command :
# run convert service tests (on current machine, by calling npm script directly)
$ make convert-test
This script performs the following :
$ DOTENV_CONFIG_PATH=../.env npx mocha --require dotenv/config 'test/*.test.js'
Run the site locally
The application is an association of 3 microservices :
- website : which displays the gallery and allows the upload of new images to convert.
- convert : which converts JPG, PNG or WEBP images to black and white.
- storage : which stores the converted image in an S3 bucket.
It is possible to start the services separately like this :
# sample script, don't do this !
$ make convert-dev
$ make storage-dev
$ make website-dev
But we choose to use docker-compose to orchestrate the local development :
# local development with docker-compose
$ make dev
This script performs the following :
$ docker-compose \
    --file docker-compose.dev.yml \
    --project-name compose_gallery_kubernetes_dev \
    --env-file .env \
    up
The docker-compose.dev.yml file defines the 3 services like this :
version: "3"

services:
    convert:
        build:
            context: ./convert
            dockerfile: Dockerfile.dev
        # define volume to enable livereload
        volumes:
            - "./convert:/app"
        # port variables are not received from the env_file below
        # but defined by `docker-compose --env-file <file> up`
        ports:
            - "${CONVERT_PORT}:${CONVERT_PORT}"
        # define environment variables in the built image
        env_file:
            - .env

    storage:
        build:
            context: ./storage
            dockerfile: Dockerfile.dev
        # define volume to enable livereload
        volumes:
            - "./storage:/app"
        # port variables are not received from the env_file below
        # but defined by `docker-compose --env-file <file> up`
        ports:
            - "${STORAGE_PORT}:${STORAGE_PORT}"
        # define environment variables in the built image
        env_file:
            - .env

    website:
        build:
            context: ./website
            dockerfile: Dockerfile.dev
        volumes:
            - "./website:/app"
        ports:
            - "${WEBSITE_PORT}:${WEBSITE_PORT}"
        env_file:
            - .env
        environment:
            DOCKER_COMPOSE: "true"
The Dockerfile.dev file from the convert service :
FROM node:14.5-slim AS build
WORKDIR /app
ADD package.json .
RUN npm install

FROM node:14.5-slim
WORKDIR /app
COPY --from=build /app .
ADD . .
CMD ["npm", "run", "dev"]
Our services are launched, we can go and see http://localhost:3000 :
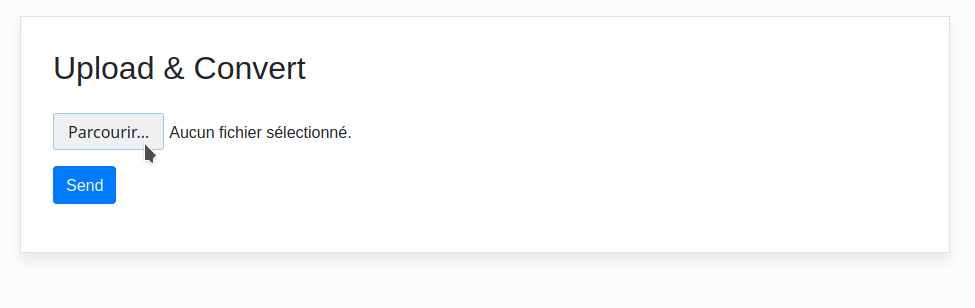
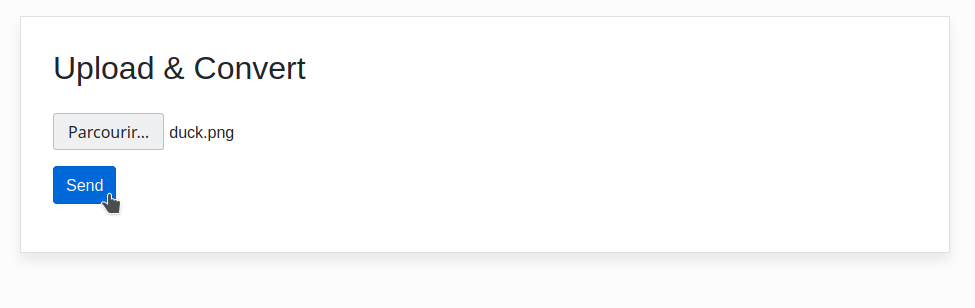
We choose an image to upload then click the Send button :
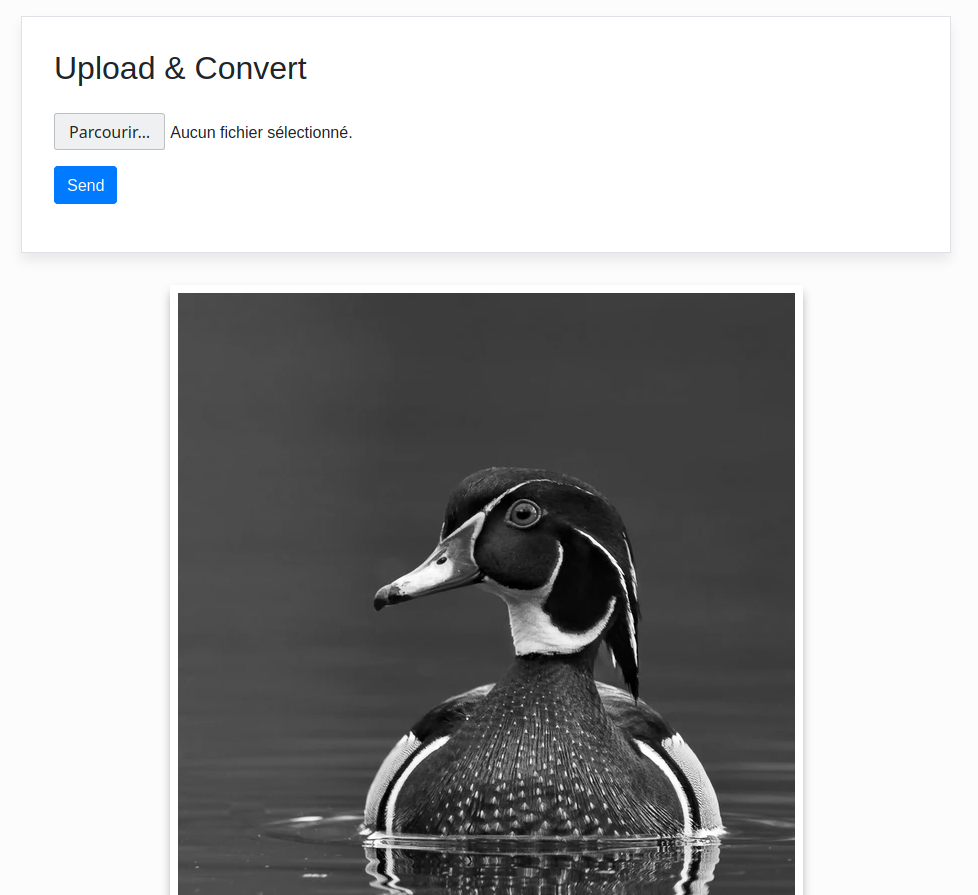
The page is reloaded, we can see the black and white image :
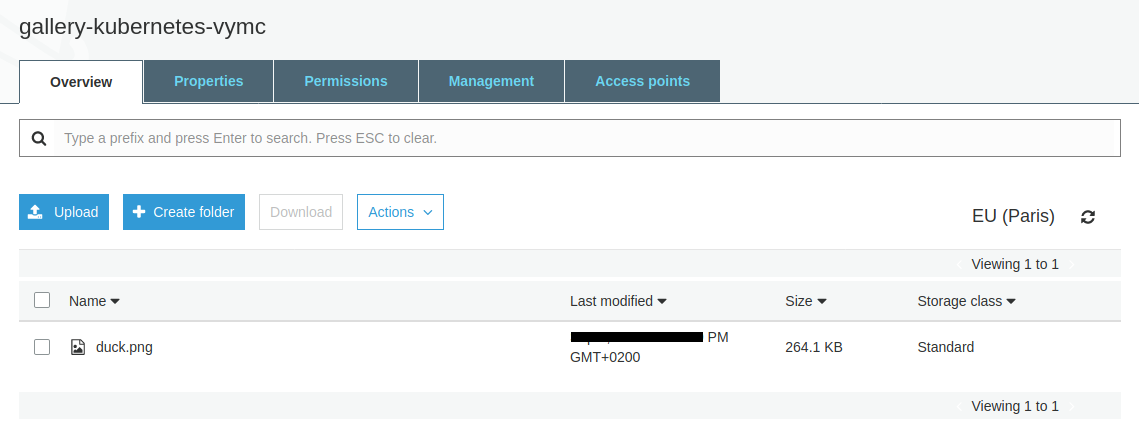
We can see the uploaded file on S3 :
The upload is done via the storage service, here is an extract :
app.post('/upload', upload.any(), async (req, res) => {
    debug('req.files:', req.files)
    if (req.files == undefined || req.files.length == 0) {
        return res.status(400).send('Field file is required')
    }
    const file = req.files.find(e => e.fieldname == 'file')
    debug('file:', file)

    const params = {
        ContentType: 'image',
        Bucket: process.env.AWS_S3_BUCKET,
        Key: file.originalname,
        Body: file.buffer,
        ACL : 'public-read'
    }

    try {
        const result =  await s3.upload(params).promise()
        debug('result:', result)
        return res.send(result.Location)
    } catch(err) {
        return res.status(400).send(`Error: ${err.message}`)
    }
})
Hosting the production image on the docker hub
We build the 3 production images and push them with this command :
# build production images and push to ECR
$ make build-push
This command does this :
# create ECR repository
$ aws ecr create-repository \
    --repository-name convert \
    --region $AWS_REGION \
    --profile $AWS_PROFILE

# get repository URI
$ REPOSITORY_URI=$(aws ecr describe-repositories \
    --query "repositories[?repositoryName == 'convert'].repositoryUri" \
    --region $AWS_REGION \
    --profile $AWS_PROFILE \
    --output text)

# root account id
$ ACCOUNT_ID=$(aws sts get-caller-identity \
    --query 'Account' \
    --profile $AWS_PROFILE \
    --output text)

# add login data into /home/$USER/.docker/config.json (create or update authorization token)
$ aws ecr get-login-password \
    --region $AWS_REGION \
    --profile $AWS_PROFILE \
    | docker login \
    --username AWS \
    --password-stdin $ACCOUNT_ID.dkr.ecr.$AWS_REGION.amazonaws.com

# build, tag and push storage
$ docker image build \
    --tag convert:latest \
    --tag convert:1.0.0 \
    .

$ docker tag convert:latest $REPOSITORY_URI:latest
$ docker tag convert:latest $REPOSITORY_URI:1.0.0

$ docker push $REPOSITORY_URI:latest
$ docker push $REPOSITORY_URI:$VERSION
The script build 3 production images and push them on ECR.
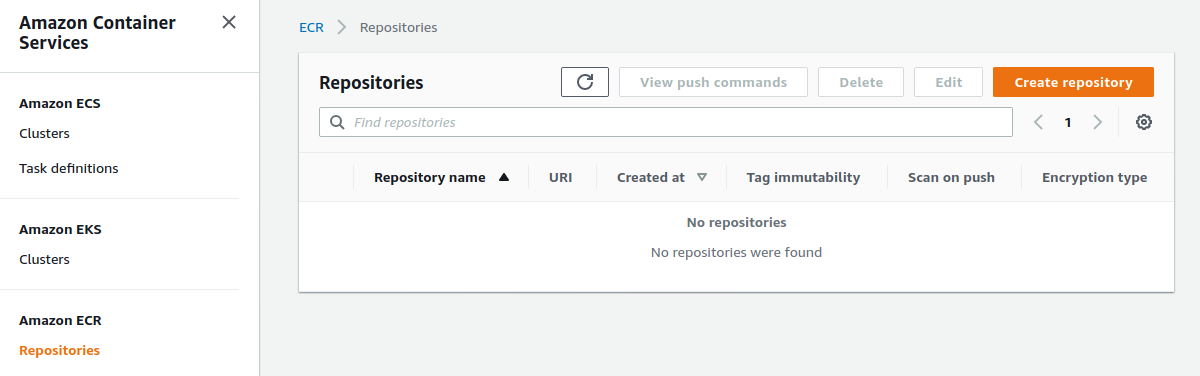
The state of my ECR repositories page before the script execution :
The creation of the production image uses a specific, optimized Dockerfile.
The optimization of the image weight is achieved with :
- The declaration of the environment variable
NODE_ENV=production. The installation of npm modules will be reduced. - The use of node-prune to reduce the weight of the node_modules folder.
FROM softonic/node-prune AS prune

FROM node:14.5-alpine AS build
# With `NODE_ENV=production` npm install will skip devDependencies packages
ENV NODE_ENV production
WORKDIR /app
COPY --from=prune /go/bin/node-prune /usr/local/bin/
ADD . .
RUN npm install --quiet
RUN node-prune

FROM node:14.5-alpine
ENV NODE_ENV production
WORKDIR /app
COPY --from=build /app .
CMD ["node", "server.js"]
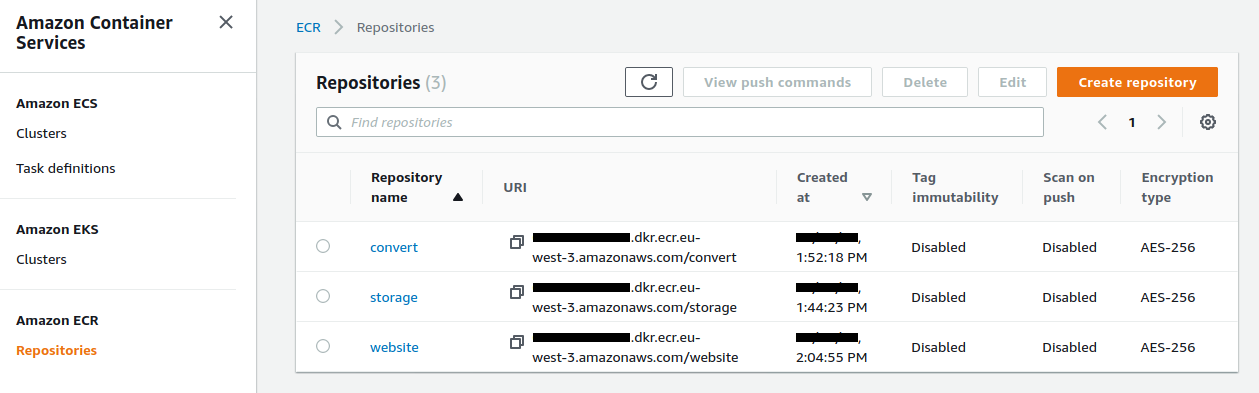
The build and push action is quite long. We end up with our 3 repositories :
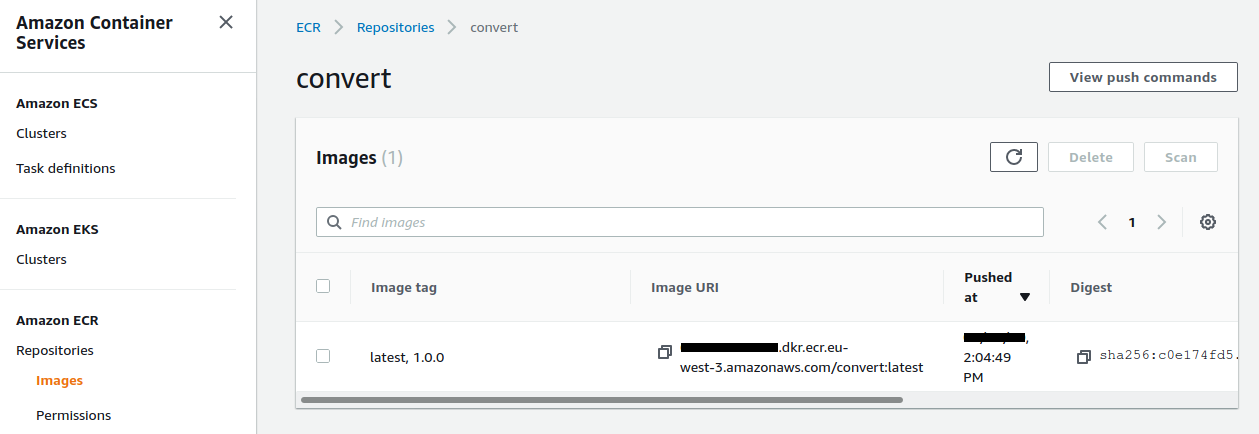
The uploaded convert image :
Creating the Kubernetes cluster
We launch the creation of the EKS cluster. You have to be patient because it takes about 15 minutes !
$ make cluster-create
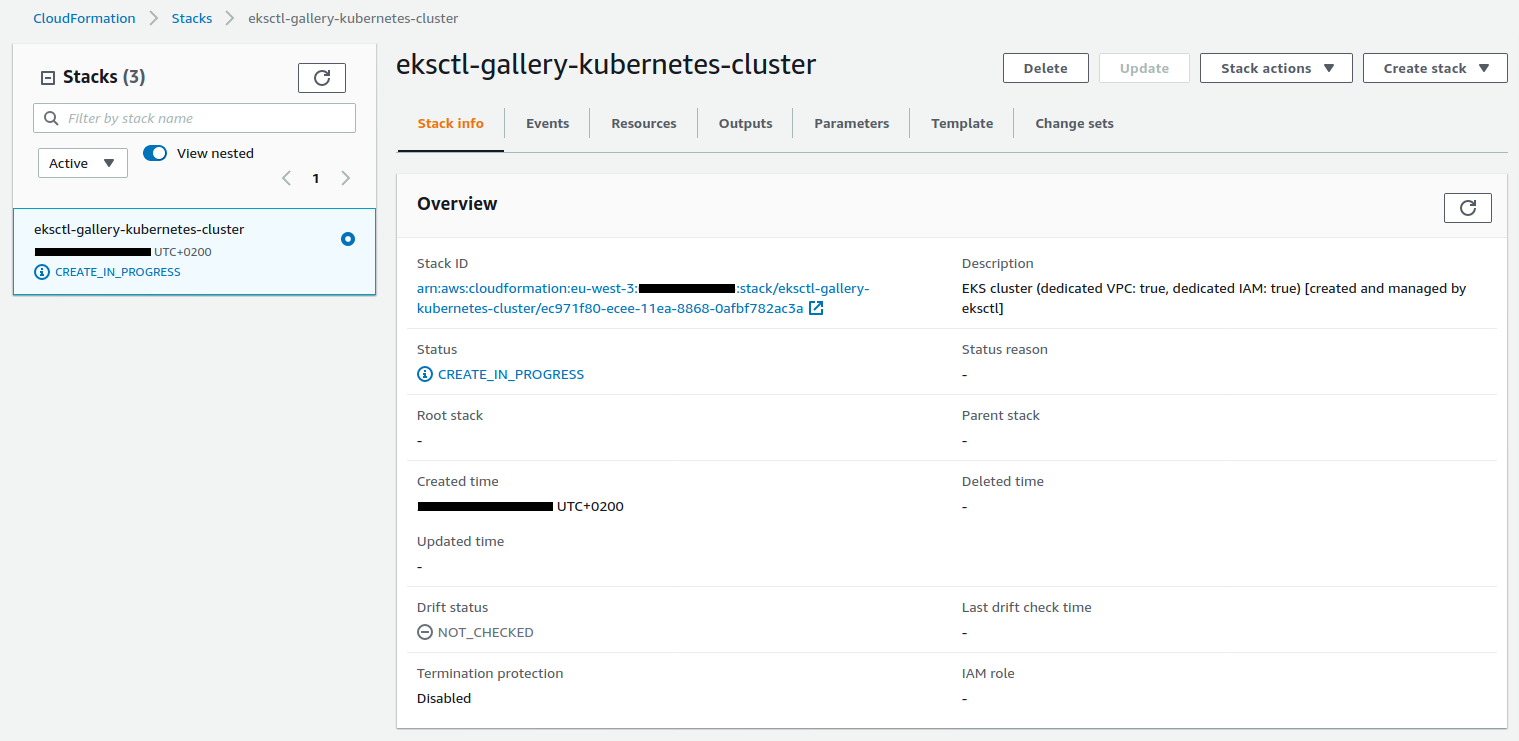
The creation of the cluster is managed via a Cloudformation Stack :

Here are some more details :
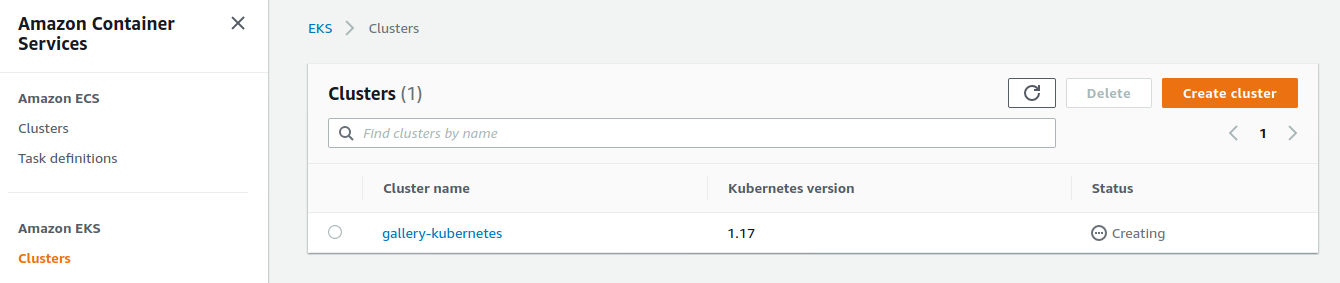
We see the cluster being created in the EKS interface :
Once the deployment is complete, we check that kubectl points to the right cluster :
$ kubectl config current-context
user@gallery-kubernetes.eu-west-3.eksctl.io
We query the namespaces :
$ kubectl get ns
NAME              STATUS   AGE
default           Active   20m
kube-node-lease   Active   20m
kube-public       Active   20m
kube-system       Active   20m
We will deploy the services :
$ make cluster-deploy
namespace/gallery-kubernetes created
secret/gallery-kubernetes created
deployment.apps/storage created
service/storage created
deployment.apps/convert created
service/convert created
deployment.apps/website created
service/website created
This command takes the templates present in the k8s directory and injects the variables contained in the .env file previously created :
The starting namespace.yml template :
apiVersion: v1
kind: Namespace
metadata:
  name: {{PROJECT_NAME}}
Go through a bash script similar to this :
$ source .env
$ sed --expression "s|{{PROJECT_NAME}}|$PROJECT_NAME|g" namespace.yml
The template therefore becomes :
apiVersion: v1
kind: Namespace
metadata:
  name: gallery-kubernetes
The template is sent directly to the cluster by adding :
$ source .env
$ sed --expression "s|{{PROJECT_NAME}}|$PROJECT_NAME|g" namespace.yml \
    | kubectl apply --filename -
If we query the namespaces again we see the one we just added :
$ kubectl get ns
NAME                 STATUS   AGE
default              Active   22m
gallery-kubernetes   Active   10s
kube-node-lease      Active   22m
kube-public          Active   22m
kube-system          Active   22m
We query the pods :
$ kubectl get pods -n gallery-kubernetes
NAME                       READY   STATUS    RESTARTS   AGE
convert-5c85c7c869-5vzgd   1/1     Running   0          22m
convert-5c85c7c869-xlvwq   1/1     Running   0          22m
storage-66b6998c9-s46m5    1/1     Running   0          40s
storage-66b6998c9-wjsxd    1/1     Running   0          40s
website-584cc7f864-bmjdg   1/1     Running   0          22m
website-584cc7f864-th4fx   1/1     Running   0          22m
The website service uses a LoadBalancer type :
apiVersion: v1
kind: Service
metadata:
  name: website
  namespace: {{PROJECT_NAME}}
  labels:
    app: website
spec:
  selector:
    app: website
  ports:
  - port: 80
    protocol: TCP
    targetPort: {{WEBSITE_PORT}}
  type: LoadBalancer
We get the URL of the LoadBalancer with this command :
$ make cluster-elb
This command does this :
$ kubectl get svc \
    --namespace gallery-kubernetes \
    --output jsonpath="{.items[?(@.metadata.name=='website')].status.loadBalancer.ingress[].hostname}"
By using this URL in our browser we should see the service working. We select an image type :
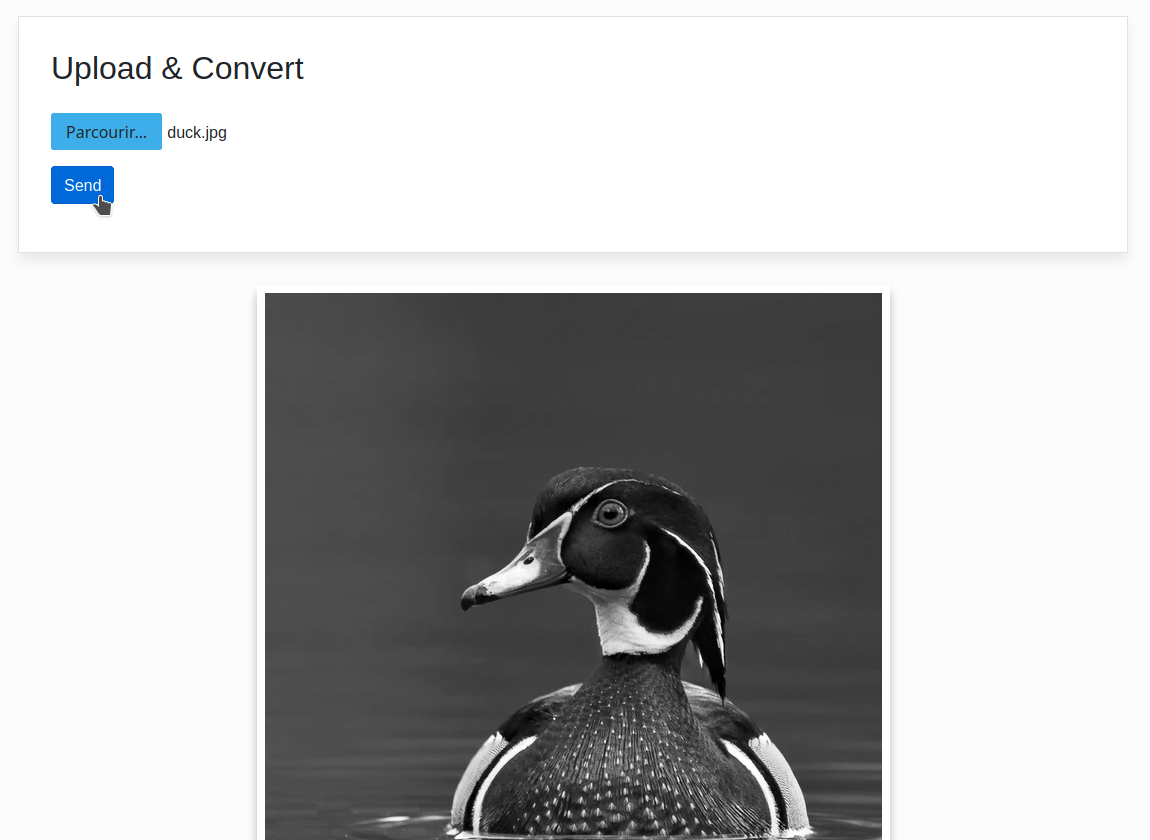
By clicking on the Send button, the page reloads and displays the converted image in black and white :

We can query the logs of the convert service with this command :
$ make cluster-log-convert
Listening on port 4000
2020-01-01T09:00:00.000Z convert req.files: [
  {
    fieldname: 'file',
    originalname: 'duck.jpg',
    encoding: '7bit',
    mimetype: 'image/jpeg',
    buffer: <Buffer ff d8 ff e0 00 10 4a 46 49 46 00 01 01 00 00 01 00 01 ... 243154 more bytes>,
    size: 243204
  }
]
This command does this :
$ kubectl logs \
    --namespace gallery-kubernetes \
    --selector app=convert \
    --tail=1000
The demonstration is over. We can delete our cluster with this command :
$ make cluster-delete