
ECS + Load Balancer + Node + Terraform
- We have a node site that displays the metadata task
- Create an docker image optimized for production and host it on Docker hub
- Use aws cli to create a load balancer
- Use ecs-cli to put the site online
- Scale up the number of instances behind the load balancer
- Use Terraform to do the exact same thing

Install the project
Get the code from this github repository :
# download the code
$ git clone \
    --depth 1 \
    https://github.com/jeromedecoster/ecs-lb-node-terraform.git \
    /tmp/aws

# cd
$ cd /tmp/aws
Run the site locally
Let’s start by seeing the site locally.
The site uses express and ejs.
{
  "dependencies": {
    "axios": "^0.19.2",
    "ejs": "^3.1.3",
    "express": "^4.17.1"
  }
}
We install the packages :
$ npm install
The Makefile allows you to run the development version :
dev: # local development without docker
	NODE_ENV=development PORT=3000 node .
We launch the development version :
$ make dev
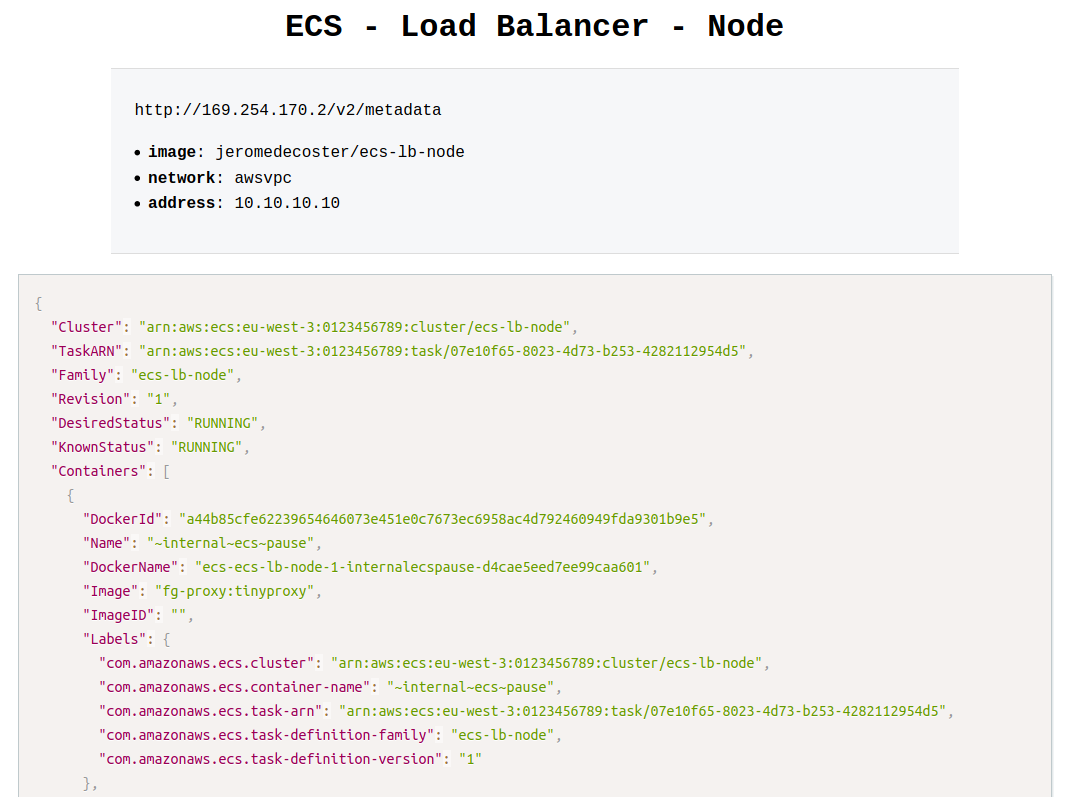
The development site displays a mock of metadata task returned from the special address http://169.254.170.2/v2/metadata.
This is a link-local address.
We can see in particular the following informations :
- Image : The image for the container.
- Networks : The network information for the container, such as the network mode and IP address.
{
    "Image": "jeromedecoster/ecs-lb-node",
    "//": "...",
    "Networks": [
        {
            "NetworkMode": "awsvpc",
            "IPv4Addresses": [
                "10.10.10.10"
            ]
        }
    ]
}
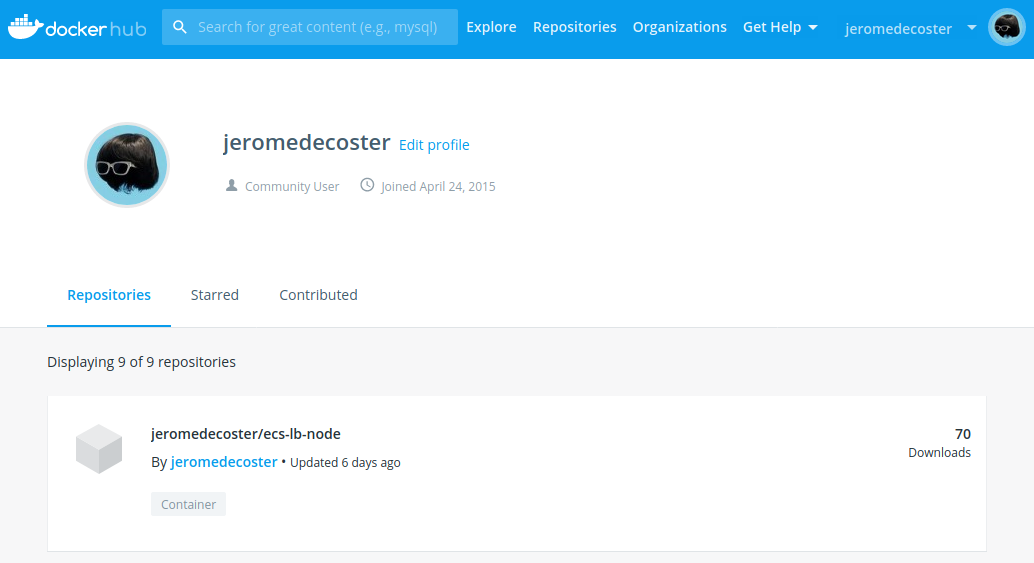
Hosting the production image on the docker hub
You can modify some variables in the make.sh file to customize your tests :
#
# variables
#

# AWS variables
PROFILE=default
REGION=eu-west-3
# Docker Hub image
DOCKER_IMAGE=jeromedecoster/ecs-lb-node
# project name
NAME=ecs-lb-node
We build the production image :
$ make build
This command does this :
$ VERSION=$(jq --raw-output '.version' package.json)
$ docker image build \
    --tag $DOCKER_IMAGE:latest \
    --tag $DOCKER_IMAGE:$VERSION \
    .
The Dockerfile is simple :
FROM node:14.3-slim AS build
WORKDIR /app
ADD package.json .
RUN npm install

FROM node:14.3-slim
ENV NODE_ENV production
ENV PORT 80
WORKDIR /app
COPY --from=build /app .
ADD . .
EXPOSE 80
CMD ["node", "index.js"]
We push this image to docker hub :
$ make push
This command does this :
$ VERSION=$(jq --raw-output '.version' package.json)
$ docker push $DOCKER_IMAGE:latest
$ docker push $DOCKER_IMAGE:$VERSION
Use ecs-cli to start the image in ECS FARGATE
We create the cluster and the load balancer with this simple command :
$ make ecs-create
This simple command performs many tasks within the make.sh file.
Let’s look at some parts of the code executed :
- Configuration of
ecs-cliwith ecs-cli configure. - Creation of the cluster avec ecs-cli up.
$ ecs-cli configure \
    --cluster $NAME \
    --default-launch-type FARGATE \
    --config-name $NAME \
    --region $REGION

$ ecs-cli up \
    --cluster-config $NAME \
    --aws-profile $PROFILE \
    --region $REGION \
    --tags Name=$NAME
- Opening of
port 80in the security group with ec2 authorize-security-group-ingress. - Load balancer creation with elbv2 create-load-balancer.
$ aws ec2 authorize-security-group-ingress \
    --group-id $SG \
    --protocol tcp \
    --port 80 \
    --cidr 0.0.0.0/0 \
    --profile $PROFILE \
    --region $REGION \
    2>/dev/null

$ aws elbv2 create-load-balancer \
    --name $NAME \
    --type application \
    --subnets $SUBNETS \
    --profile $PROFILE \
    --region $REGION \
    1>/dev/null
- ECS service creation with ecs-cli compose service up.
$ ecs-cli compose \
    --file docker-compose.aws.yml \
    --project-name $NAME \
    service up \
    --create-log-groups \
    --cluster-config $NAME \
    --target-group-arn "$TG_ARN" \
    --container-name site \
    --container-port 80 \
    --aws-profile $PROFILE \
    --region $REGION
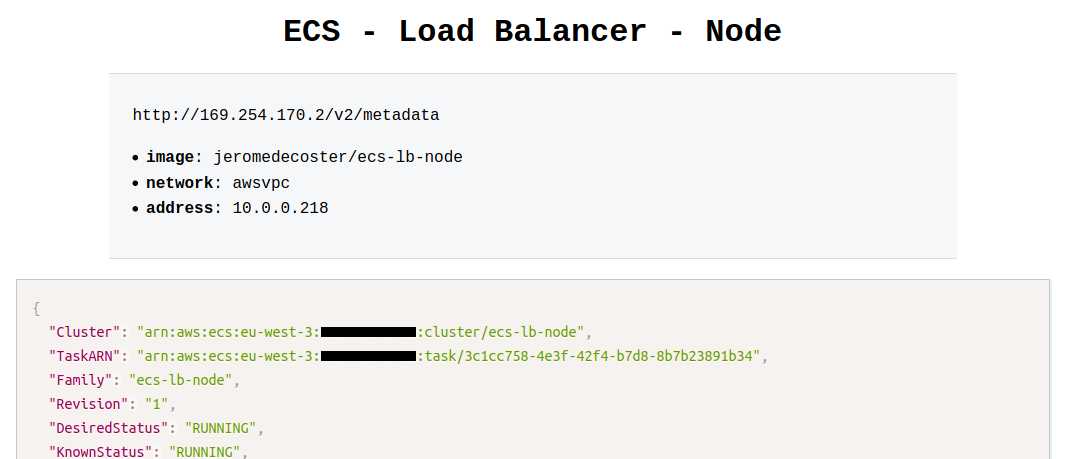
We have the URL of our load balancer :

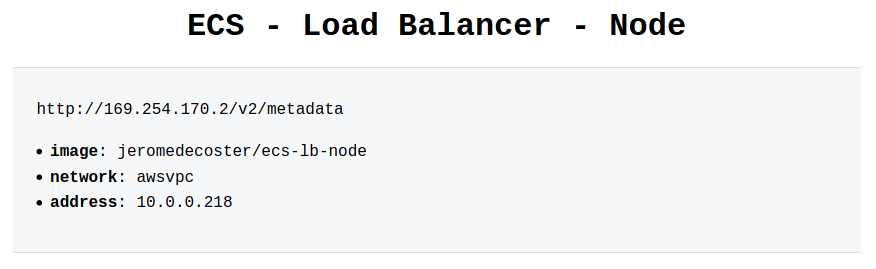
We display this URL in our browser we see the private URL :
Service scaling
We go from 1 container to 3 containers :
$ make ecs-scale-up

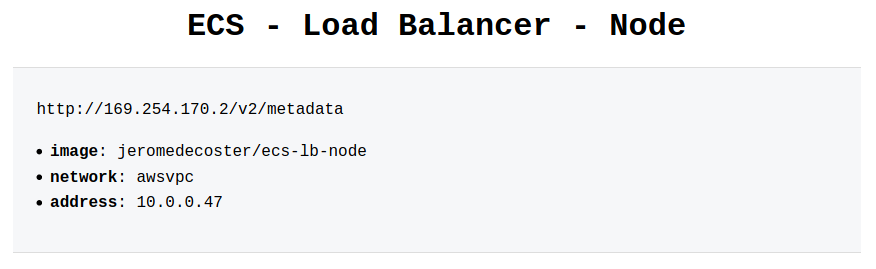
Once the scaling is complete, if we reload our site multiple times, we see our different private IP addresses :

We can change the scale again to go back to 1 container :
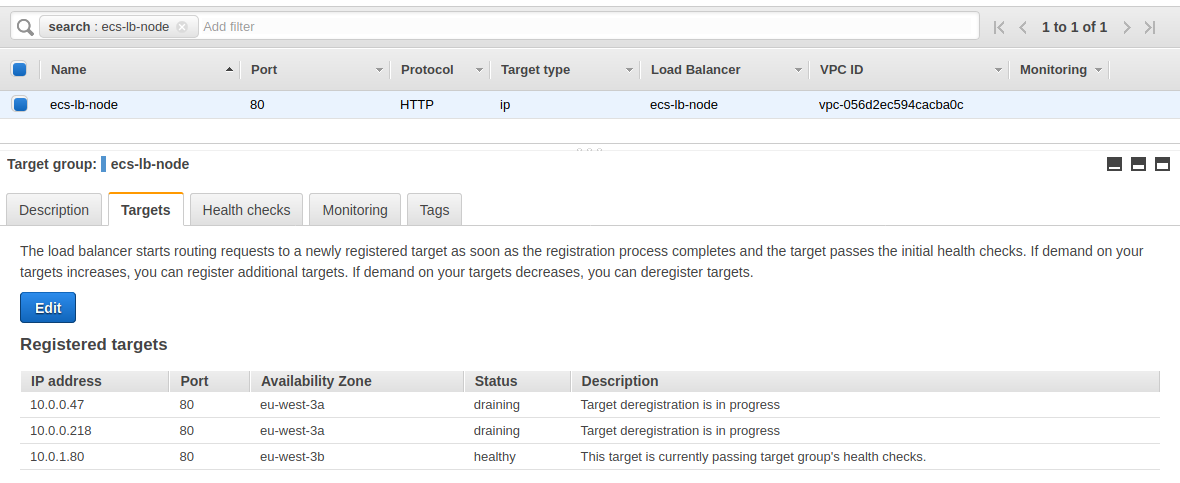
$ make ecs-scale-down
But beware, unregister targets in the load balancer takes several minutes :
The demonstration is over, we can destroy our resources :
$ make ecs-destroy
Using Terraform
The advantage of ecs-cli is to use the docker-compose.yml file transparently.
ecs-cli also uses CloudFormation in a hidden way to create and manage resources.
With ecs-cli there is therefore little to do, with the exception of the creation of the Load Balancer, to transform our local docker-compose service to an online ECS service.
But If we want to use Terraform, we have to describe everything. And it takes much longer !
Let’s take a look at some excerpts from Terraform files.
Creation of the VPC, subnets, Internet gateway and routing table in vpc.tf :
resource aws_vpc vpc {
  cidr_block           = "10.0.0.0/16"
  enable_dns_hostnames = true

  tags = {
    Name = local.project_name
  }
}

resource aws_subnet subnet_1 {
  vpc_id = aws_vpc.vpc.id

  cidr_block        = "10.0.0.0/24"
  availability_zone = "${var.region}a"

  tags = {
    Name = local.project_name
  }
}

# ...
Creation of the load balancer, target group and listener in alb.tf :
resource aws_alb alb {
  name               = local.project_name
  load_balancer_type = "application"
  subnets            = [aws_subnet.subnet_1.id, aws_subnet.subnet_2.id]
  security_groups    = [aws_security_group.alb.id]

  tags = {
    Name = local.project_name
  }
}

# ...
Creation of the cluster, the task definition and the service in ecs.tf :
resource aws_ecs_task_definition task_definition {
  family                = local.project_name
  container_definitions = <<DEFINITION
[{
    "name": "site",
    "image": "jeromedecoster/ecs-lb-node",
    "cpu": 0,
    "essential": true,
    "networkMode": "awsvpc",
    "portMappings": [
        {
            "containerPort": 80,
            "hostPort": 80,
            "protocol": "tcp"
        }
    ],
    "privileged": false,
    "readonlyRootFilesystem": false,
    "logConfiguration": {
        "logDriver": "awslogs",
        "options": {
            "awslogs-group": "${aws_cloudwatch_log_group.log_group.name}",
            "awslogs-region": "${var.region}",
            "awslogs-stream-prefix": "site"
        }
    }
}]
DEFINITION

  execution_role_arn       = aws_iam_role.ecs_task_execution_role.arn
  network_mode             = "awsvpc"
  requires_compatibilities = ["FARGATE"]
  cpu                      = 256
  memory                   = 512
}

resource aws_ecs_service ecs_service {
  name                = local.project_name
  cluster             = aws_ecs_cluster.ecs_cluster.id
  task_definition     = aws_ecs_task_definition.task_definition.arn
  launch_type         = "FARGATE"
  desired_count       = var.desired_count
  scheduling_strategy = "REPLICA"

  network_configuration {
    subnets          = [aws_subnet.subnet_1.id, aws_subnet.subnet_2.id]
    security_groups  = [aws_security_group.ecs_tasks.id, aws_security_group.alb.id]
    assign_public_ip = true
  }

  load_balancer {
    target_group_arn = aws_alb_target_group.alb_target_group.arn
    container_name   = "site"
    container_port   = 80
  }

  depends_on = [aws_alb_listener.alb_listener]
}
To initialize Terraform we use this command :
$ make tf-init
To build the infrastructure, the cluster and the service we simply execute command :
$ make tf-apply
We have some information in the terminal :

We use the DNS name URL of the load balancer in our browser :
We use scaling to go to 3 instances :
$ make tf-scale-up
The executed shell code is very simple :
$ export TF_VAR_desired_count=3
$ tf-apply
New tasks are provisioning :
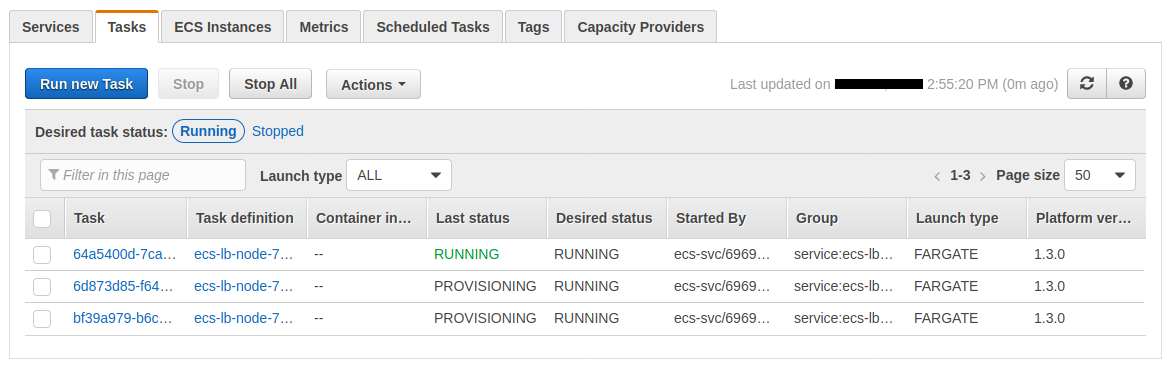
The target group registers the new instances :
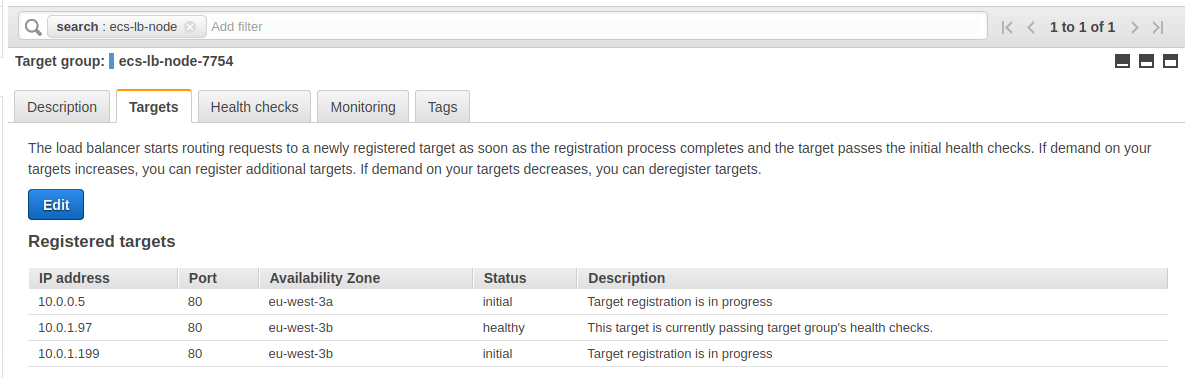
Everything is ready :
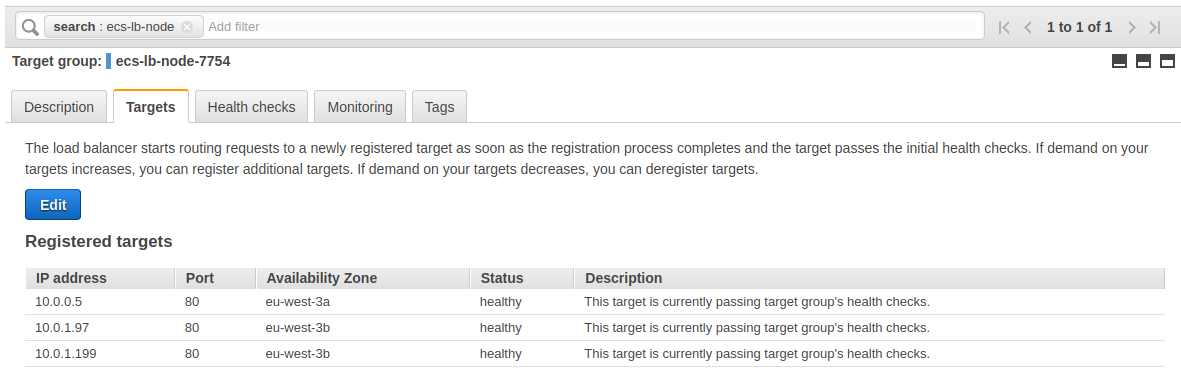
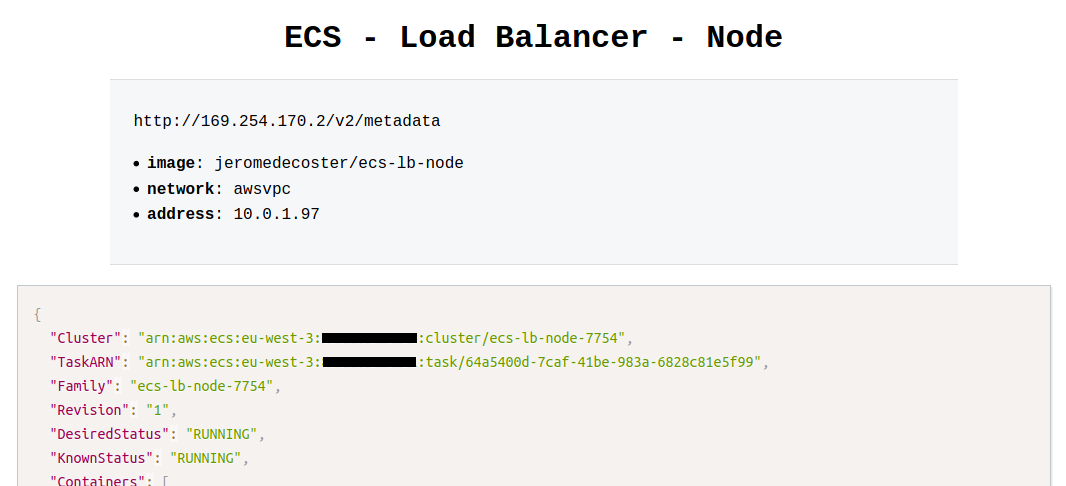
We see our 3 instances behind our load balancer if we reload our browser several times :


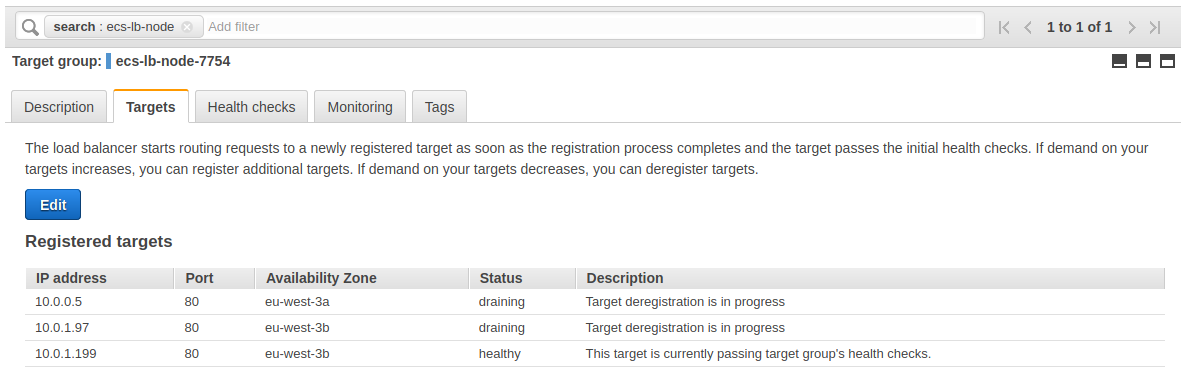
We can go back to 1 container :
$ make tf-scale-down
Unregistering targets in the load balancer takes several minutes :
The demonstration is over, we can destroy our resources :
$ make tf-destroy