
Node + Express + form
Install and start the application
Get the code from this github repository :
# download the project
$ git clone \
    --depth 1 \
    https://github.com/jeromedecoster/note-node-express-form.git \
    /tmp/note

# cd + install
$ cd /tmp/note && npm install
If you look at index.js, the code is really simple :
- We use multer with the MemoryStorage.
- We use body-parser with the urlencoded method.
const app = express()
app.use(express.static('public'))

// memory storage
const upload = multer({ storage: multer.memoryStorage() })

// we receive `req.body` and `req.file`
app.post('/data-one', upload.single('a_file'), (req, res) => {
    res.json({
        status: 200,
        message: 'ok'
    })
})

// we receive `req.body` and `req.files`
app.post('/data-two', upload.any(), (req, res) => {
    console.log('req.body:', req.body)
    console.log('req.files:', req.files)

    var f1 = req.files.find(e => e.fieldname == 'a_json_file')
    if (f1 != null) {
        console.log('json:', JSON.parse(f1.buffer))
    }
    var f2 = req.files.find(e => e.fieldname == 'a_txt_file')
    if (f2 != null) {
        console.log('txt:', f2.buffer.toString())
    }

    res.send('ok')
})

// we receive `req.body`
app.post('/data-three', bodyParser.urlencoded({ extended: true }), (req, res) => {
    console.log('req.body:', req.body)

    res.send('<h1>ok</h1>')
})
Let’s start the server :
# start the server
$ node .
Multipart with one file
If you open localhost:3000 you should see the first form :
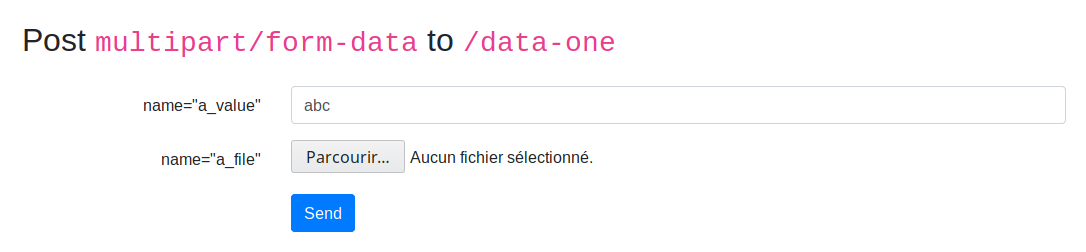
The associated code in index.js :
- The
req.bodyobject contains the values of the text fields of the form. - The
req.fileobject contains the file uploaded via the form. - The file is declared with the single method. So we only accept one file named « a_file ».
// memory storage
const upload = multer({ storage: multer.memoryStorage() })

// we receive `req.body` and `req.file`
app.post('/data-one', upload.single('a_file'), (req, res) => {
    res.json({
        status: 200,
        message: 'ok'
    })
})
Pick the file /tmp/note/data.json then click the send button. The server log this :
req.file: { fieldname: 'a_file',
  originalname: 'data.json',
  encoding: '7bit',
  mimetype: 'application/json',
  buffer: <Buffer 7b 0a 20 20 20 20 22 61 62 63 22 3a 20 31 32 33 0a 7d>,
  size: 18 }
json: { abc: 123 }
We can use curl to send the same datas :
- We use the -X, –request
option send a POST request. - We use the -F, –form <name=content> option to send the file and value.
$ curl --request POST \
    --form "a_file=@/tmp/note/data.json" \
    --form "a_value=abc" \
    http://localhost:3000/data-one
{"status":200,"message":"ok"}
Multipart with any files
If you open localhost:3000 you should see the second form :
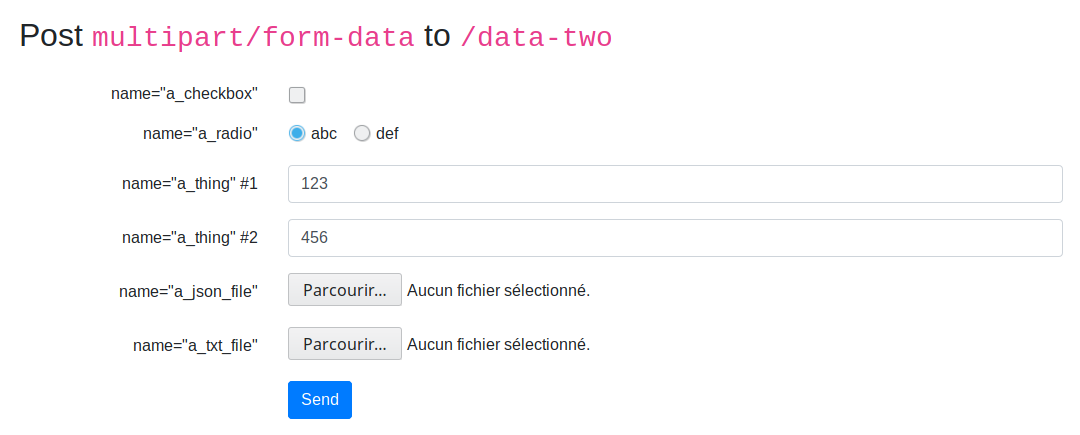
The associated code in index.js :
- The
req.bodyobject contains the values of the text fields of the form. - The
req.filesarray contains the files uploaded via the form. - The files are declared with the any method. So we accept all files.
// memory storage
const upload = multer({ storage: multer.memoryStorage() })

// we receive `req.body` and `req.files`
app.post('/data-two', upload.any(), (req, res) => {
    console.log('req.body:', req.body)
    console.log('req.files:', req.files)

    var f1 = req.files.find(e => e.fieldname == 'a_json_file')
    if (f1 != null) {
        console.log('json:', JSON.parse(f1.buffer))
    }
    var f2 = req.files.find(e => e.fieldname == 'a_txt_file')
    if (f2 != null) {
        console.log('txt:', f2.buffer.toString())
    }

    res.send('ok')
})
Pick the files /tmp/note/data.json and /tmp/note/data.txt then click the send button. The server log this :
req.body: { a_checkbox: 'ok', a_radio: 'abc', a_thing: [ '123', '456' ] }
req.files: [ { fieldname: 'a_json_file',
    originalname: 'data.json',
    encoding: '7bit',
    mimetype: 'application/json',
    buffer: <Buffer 7b 0a 20 20 20 20 22 61 62 63 22 3a 20 31 32 33 0a 7d>,
    size: 18 },
  { fieldname: 'a_txt_file',
    originalname: 'data.txt',
    encoding: '7bit',
    mimetype: 'text/plain',
    buffer: <Buffer 64 65 66 3d 34 35 36>,
    size: 7 } ]
json: { abc: 123 }
txt: def=456
We can use curl to send the same datas :
- We use the -X, –request
option send a POST request. - We use the -F, –form <name=content> option to send the files and values.
- Note : the suffix
;type=application/jsonis used so the JSON file is not associated with de mimetypeapplication/octet-stream. - Note : we send multiple
a_thing.
$ curl --request POST \
    --form "a_json_file=@data.json;type=application/json" \
    --form "a_txt_file=@data.txt" \
    --form "a_checkbox=ok" \
    --form "a_radio=abc" \
    --form "a_thing=123" \
    --form "a_thing=456" \
    http://localhost:3000/data-two
ok
Urlencoded without file
To send a list of key/value data string we can use the application/x-www-form-urlencoded form.
If you open localhost:3000 you should see the third form :
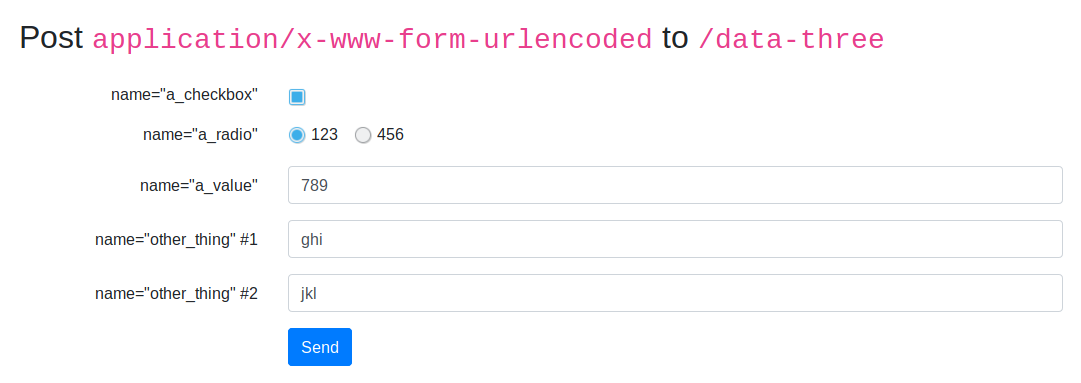
The associated code in index.js :
- The
req.bodyobject contains the values of the text fields of the form. - We use bodyParser.urlencoded to parse the urlencoded datas.
// we receive `req.body`
app.post('/data-three', bodyParser.urlencoded({ extended: true }), (req, res) => {
    console.log('req.body:', req.body)

    res.send('<h1>ok</h1>')
})
Click the send button. The server log this :
req.body: { a_checkbox: 'good',
  a_radio: '123',
  a_value: '789',
  other_thing: [ 'ghi', 'jkl' ] }
We can use curl to send the same datas :
- We use the -X, –request
option send a POST request. - We use the -d, –data option to send the values.
- Note : we send multiple
other_thing.
$ curl --request POST \
    --data "a_checkbox=good&a_radio=123&a_value=789&other_thing=ghi&other_thing=jkl" \
    http://localhost:3000/data-three
<h1>ok</h1>
You can also send data from a file. Pick the file /tmp/note/urlencoded.txt :
$ curl --request POST \
    --data "@/tmp/note/urlencoded.txt" \
    http://localhost:3000/data-three
<h1>ok</h1>